Headless CMS > Essentials
Create Content Entry
Learn how to create a content entry in Headless CMS.
- how to create a content Entry
In the previous tutorial, we learned how to create a content model, and in this tutorial, we will explore how to create a content entry. As an example, we will create a Product content entry with the following attributes:
| Field | Value |
|---|---|
| Name | Relaxed Sweatshirt |
| Description | Top sweatshirt fabric made from a cotton blend |
| Price | 10 |
Prerequisites
To create a content entry, the prerequisite is to have a content model. If you don’t have any content model yet, please follow this tutorial to create a content model.
Create Content Entry
From the Side Menu, Click Content > Ungrouped > Product.
✔️ The Product content **entry screen opens. OR From the Side Menu, Click Content Modeling > Models**.
✔️ The Content Models screen opens.
- Hover over the Product content model.
- Click View entries.
Click + New Product.
✔️ The New Product entry screen opens.
In the Name textbox, type Relaxed Sweatshirt.
In the Description textbox, type Top sweatshirt fabric made from a cotton blend.
In the Price textbox, type 10.
Click Save & Publish.
✔️ The Publish Product confirmation screen appears.
Click Yes, publish!
✔️ The message “Relaxed Sweatshirt was published successfully!” displays.
Congratulations! You have created your first content entry.
Additional Information
Content Revision
Every time you save any content entry, a new revision is created. You can see all the content revisions in the REVISONS tab.
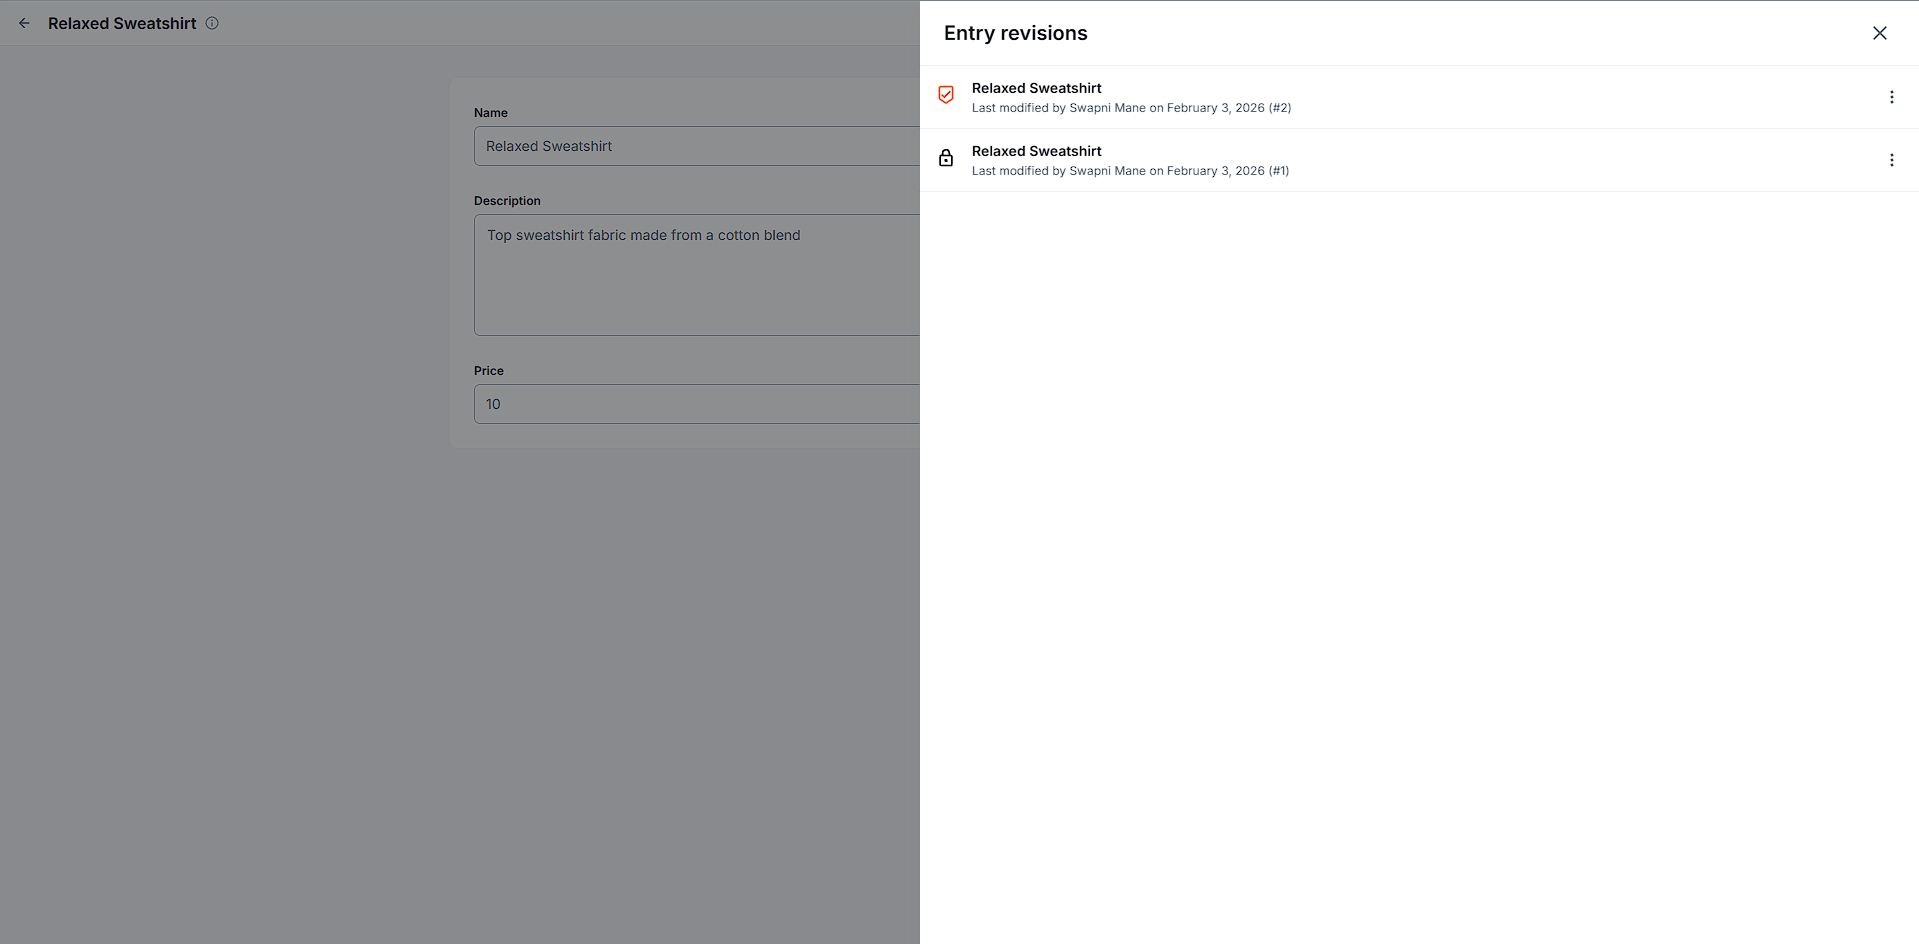 Content Entry Revision
Schedule
You can schedule an entry to be published or unpublished at a specific date and time. The Schedule option is available in the entry editor via the three-dot menu in the top-right corner.
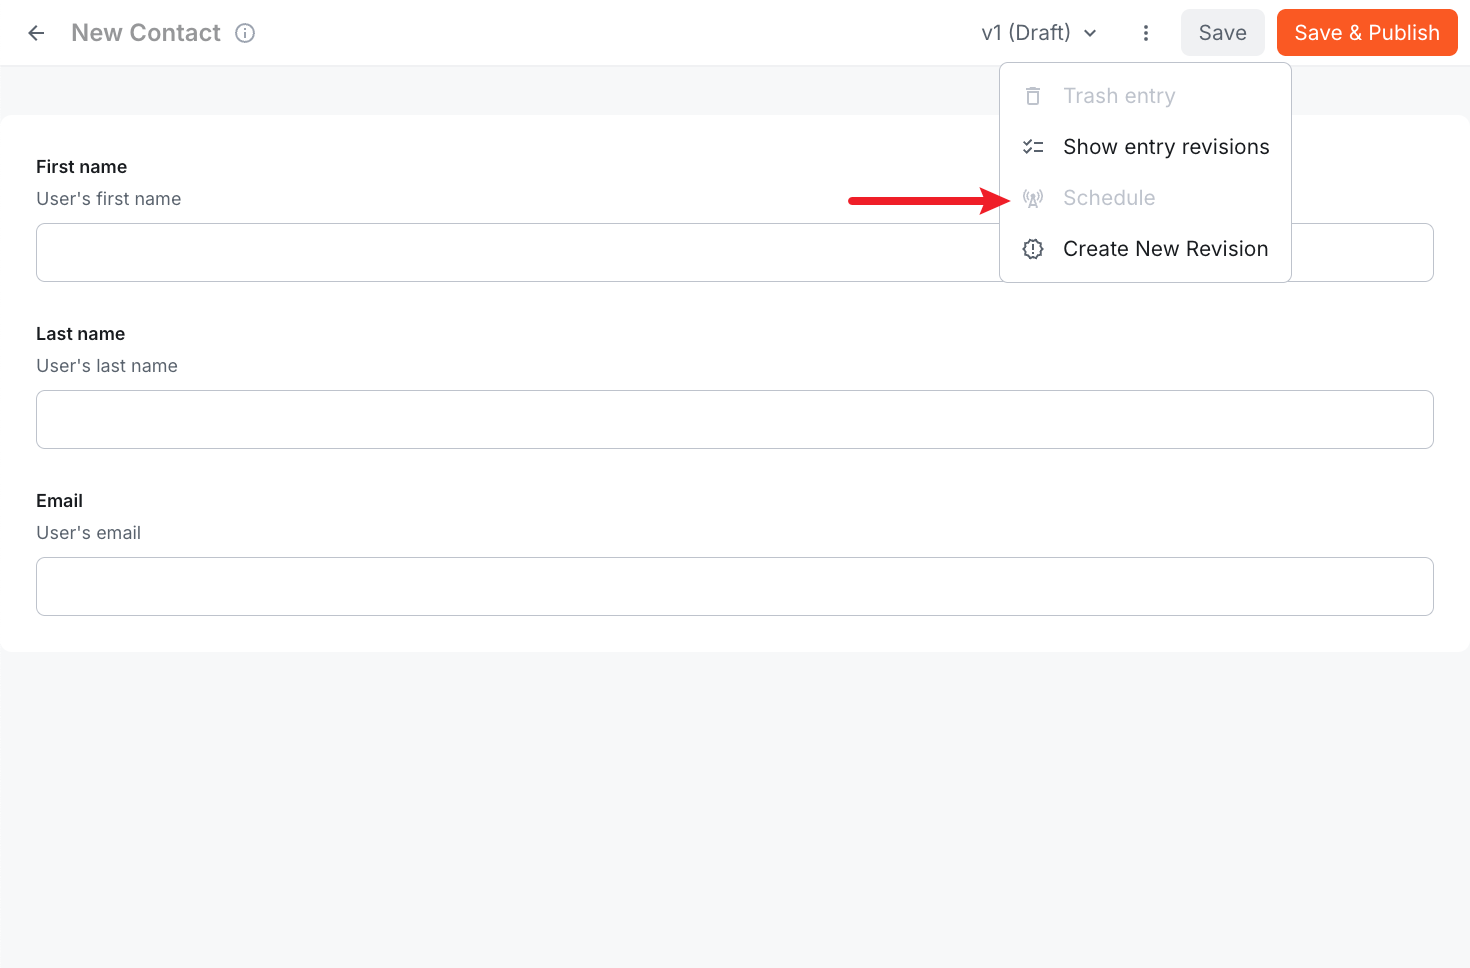 Schedule entry option in the three-dot menu